Picture of me and my partner

Description
During this project we first prepared for it by gathering the skills using the two packets given to us before hand. Using our knowledge we gained and the download file we modified it by changing the material to a stronger material like steel but it also has the advantage of being relatively light. During this project we also needed to solve for the forces 3g and 6g which we would use to stress test the steel.
Procedure
Preparing for the project we did two packets which explained what we where going to do in this project. While creating the engine mount we had to add fixed constraints on the connection points where the pipes where connected to the heat shield. We also had to use a the miter tool and the ________ tool to connect it to the engine . In our calculations we took the 3 different points and divided the load given to use 250lbs by 3 which made it 83.3lbs on each of the three different connection points.
Solution
During our testing it took us multiple tries to finally get a good result, this was due to getting a good material. Once we finally found a good material which ended up being Steel, Mild we were able to get a good solution which looked like the pictures shown below they were the same material just tested under 6g and 3g.
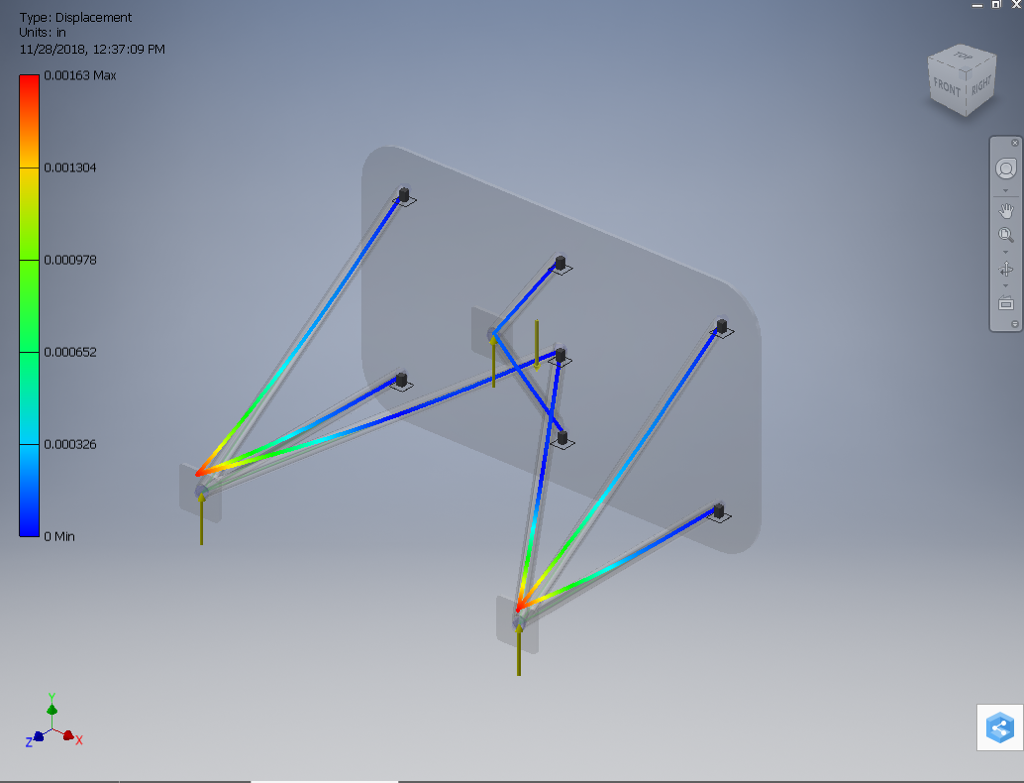
3g

6g
Conclusion
During this project I learned how to used forces and take a stress analysis in inventor, this is useful because we can use this test more advanced things in the future using the same knowledge.
I worked with Matthew on this and he and I worked very well together I believe we both did the same amount of work and both but foward equal effort I believe that it would have been harder if I didn’t work with a competent partner.
I worked with Matthew on this and he and I worked very well together I believe we both did the same amount of work and both but foward equal effort I believe that it would have been harder if I didn’t work with a competent partner.
